Supermarket Simulator Store Layout: Shelves and Flow
Build a better Supermarket Simulator store layout with aligned shelves, clear checkout space, organized storage, and room for products as your shop grows.
Jump to
Start With Short Aisles and a Clear Checkout Area
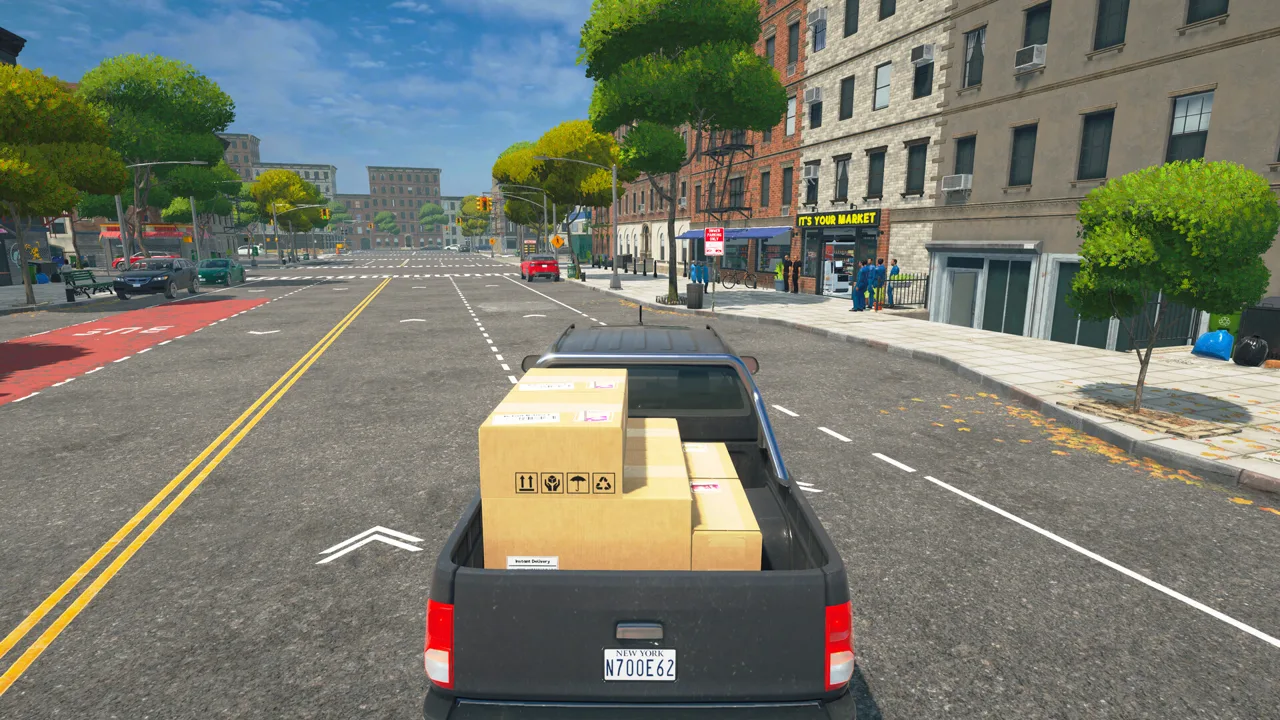
A packed shop gets old fast when every refill turns into a detour. Build your Supermarket Simulator store layout around short shelf rows, clear checkout space, and a direct route from storage. Leave yourself room to reach products while handling payments, restocking displays, and preparing online orders.
Start with this arrangement, adapting it to the store sections you own:
- Along the walls: Group fridges and freezers into recognizable refrigerated and frozen sections.
- In the center: Arrange shelves in straight, manageable rows, with space to walk around their ends.
- Near the entrance and exit: Position checkouts so waiting customers have room without crowding the doorway.
- Between storage and the sales floor: Keep a route clear for carrying stock.
Group pantry staples, cleaning products, beverages, and other categories into distinct sections. Use category signs to make those sections easier to recognize while you work.
Before adding another fixture, carry a box through the route you use to restock. Walk around shelf ends and approach each display. Adjust awkward corners before filling the new shelves.
Official page: Supermarket Simulator (supermarketsimulator.com)
Use the Snap and Grid System for Consistent Placement
Patch 1.5.0 introduced placement tools that make straight aisles much easier to build:
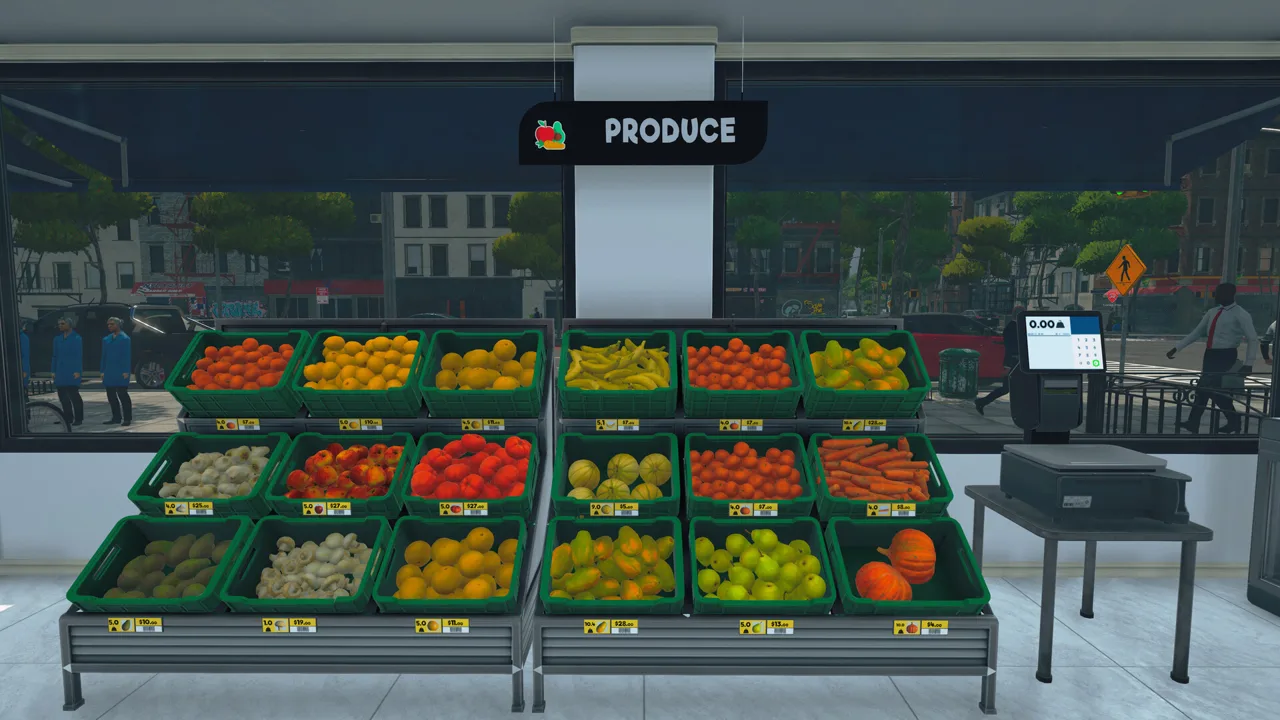 Image: Steam / Nokta Games
- Grid System: Enable it during placement mode to align shelves, racks, and other furniture.
- Adjustable grid size: Change the spacing to suit the arrangement.
- Furniture snapping: Snap furniture pieces together using the placement controls.
Align one row, then use it as the reference for neighboring rows. Keep aisle openings consistent, and check the usable walking space after snapping fixtures together. Neatly aligned furniture still needs accessible display faces.
For an older save, inspect furniture that overlaps after updating. Patch 1.5.0 slightly changed some furniture dimensions to fit the grid, which can cause existing arrangements to clip. Reposition the affected pieces before building around them.
Avoid copying a layout solely by counting grid spaces. Because grid size is adjustable, the physical clearance between fixtures matters more than the number of squares.
Allocate Shelf Space by Capacity and Demand
Organize products by category, then adjust how much display space each item receives. Equal space for every product makes a tidy starting point, but different products take up different amounts of room.
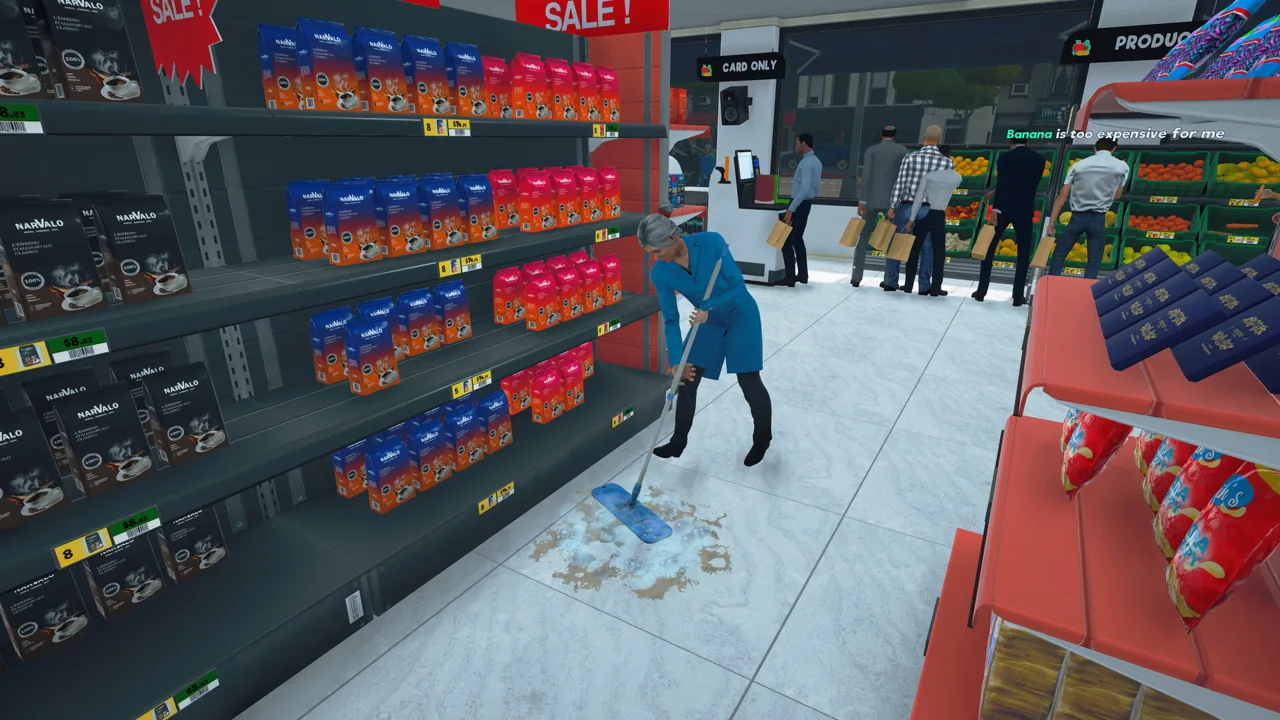 Image: Steam / Nokta Games
Watch for two separate problems:
- The display empties while stock remains in storage: Add display capacity or review the restocking setup.
- Both the display and storage run out: Replenish the product before adding more furniture.
- A large display stays mostly full: Reduce its footprint and use the space for products that need it.
Discounted products deserve particular attention. Give them extra shelf space before running a promotion, and keep replacement stock accessible.
For stores using the DLC clothing products, account for low display capacity: some shoes fit only two per shelf area, while jackets fit four. Allocate their fixtures around those limits rather than giving them the same footprint as compact pantry goods.
Keep related products together for your own picking and restocking routine. Place dairy products in one recognizable area, cleaning supplies in another, and pantry ingredients together. That organization also gives you a predictable route when collecting online orders.
Give Checkouts and Produce Scales Their Own Space
Place registers near the exit, leaving room for both the checkout queue and access to nearby aisles. Face each unit so its customer approach remains clear, then walk through the area from the entrance and from the nearest shelf row.
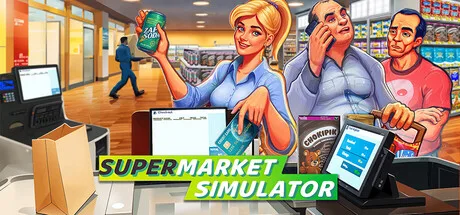 Image: Steam / Nokta Games
When you add more checkout units, preserve space around the whole checkout area. Avoid squeezing a new register into the only convenient route across the front of the shop.
If you sell produce, place the scale near checkout. Customers use the scale before paying, so leave enough room to approach it without crowding the registers.
Customer helpers can assist with both produce scales and self-checkouts. Keep these service points close enough to form a manageable front section, while leaving their approaches separate.
Avoid overlapping self-checkouts to gain floor space. Use the placement tools to build an orderly arrangement with accessible interaction areas.
Organize Storage Around Boxes and Refill Routes
Treat the stockroom as part of the layout. Give each product a recognizable rack location, and keep products you frequently refill easy to reach.
Box sizes have very different storage requirements:
| Box size | Boxes per rack space |
|---|---|
| Large | 1 |
| Medium | 2 |
| Small | 6 |
| Very small | 18 |
Reserve enough rack space for bulky stock such as toilet paper and chicken. Compact boxes can share a much smaller storage footprint, so avoid assigning every product the same number of rack spaces.
For manually organized storage, label the intended rack spaces and turn off Use Unlabelled Racks in the restocker settings. Leave suitable labeled spaces available for incoming stock.
Before rearranging racks, stop restockers from working. Move the furniture, check access, and restore their working setting afterward. Avoid changing rack positions while employees are actively using them.
Move the Store PC into storage if you want to reclaim its sales-floor space. Keep it accessible rather than wedging it behind densely packed racks.
Expand Around the Task That Needs More Room
Before buying another floor section, identify what you need the space to do. Add room for an expanding product range, a checkout area that has become cramped, or displays that need more capacity.
Keep existing categories together when expanding. Extend a pantry aisle or enlarge the refrigerated section instead of scattering new products wherever a gap appears.
For a larger store, preserve space for tasks beyond shelf stocking:
- Online orders: Keep product sections recognizable so you can collect items without searching across unrelated displays.
- DLC merchandise: Allow room for clothing, shoes, and additional display types.
- Bakery products: Keep assigned displays organized so you can see what is already stocked.
- Co-op work: Leave room for teammates to handle checkout, stocking, cleaning, and order preparation at the same time.
After rearranging, watch an operating day before moving more furniture. Check which displays empty, where restocking becomes awkward, and whether the scale or checkout area crowds nearby aisles. Change the section causing trouble, then observe how that change works.
Continue with
 Supermarket Simulator Vending Machine Items List: All 27Supermarket Simulator vending machine items list with all 27 compatible products, license levels, box sizes, and city placement tips for easier restocking.
More in Layout
Supermarket Simulator Can't Place Vending Machine: Fix
Supermarket Simulator can't place vending machine? Learn where machines can go, why indoor placement fails, and how to separate placement from co-op bugs.
Supermarket Simulator Layout Guide: Smarter Stores
Use this Supermarket Simulator layout guide to organize your shelves, clear checkout lines, plan storage, and align furniture with the Snap / Grid System.
Join the community
Official channels for news, updates and player help: