
Supermarket Simulator Layout Guide: Smarter Stores
Use this Supermarket Simulator layout guide to organize your shelves, clear checkout lines, plan storage, and align furniture with the Snap / Grid System.
Jump to
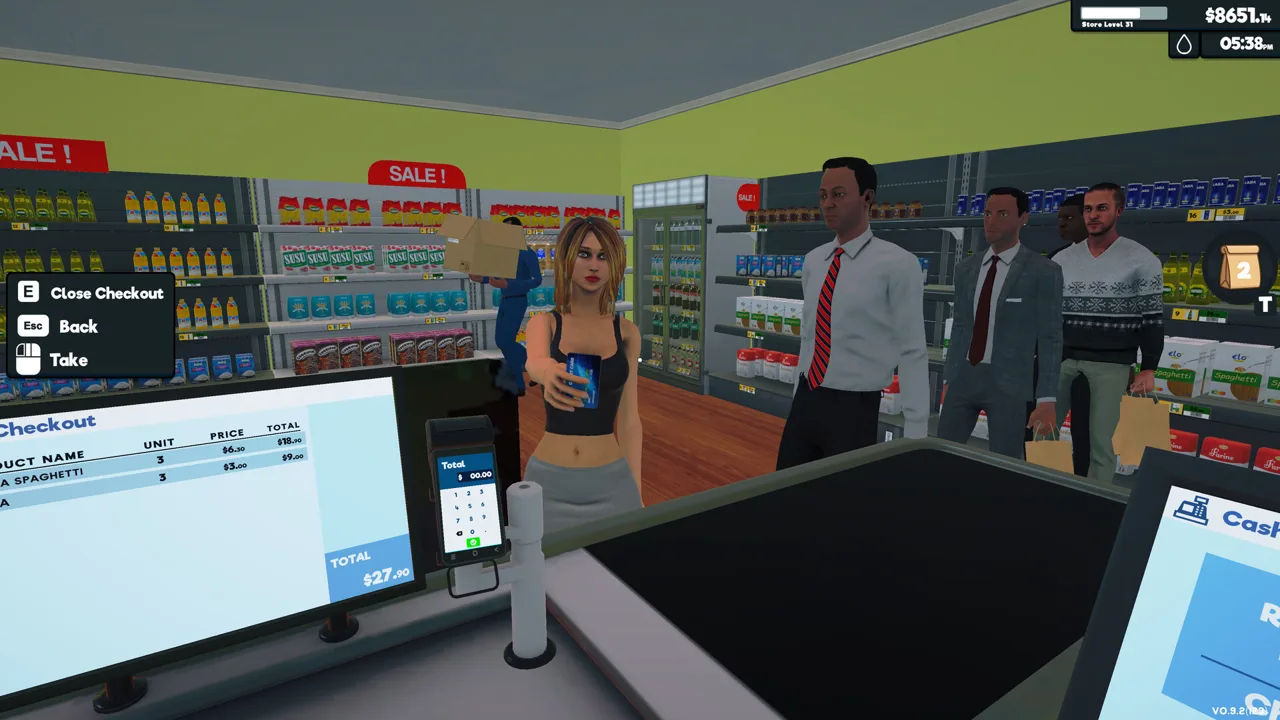
Start With Open Aisles and a Clear Checkout Route
Stop making every restock a trip around your own furniture. This Supermarket Simulator layout guide helps you organize shelves, storage, and registers so serving customers and replenishing products are easier to manage. Start with grouped product categories, open aisles, and checkout space near the exit.
Build your floor plan around these priorities:
- Keep the entrance clear. Leave room to enter the shopping area without immediately squeezing past a display or checkout line.
- Place registers near the exit. Allow space for customers to approach checkout without filling the doorway.
- Group similar products. Give groceries, drinks, refrigerated products, and frozen foods recognizable areas.
- Keep routes between aisles open. Leave enough clearance to carry stock between storage and displays without awkward detours.
For a small store, arrange shelves around the perimeter and add short central rows where space allows. As the floor grows, extend those rows into a consistent grid while preserving routes across the store.
Place fridges and freezers together where practical, with their product-facing sides accessible. Keep a clear connection between those displays and storage so replenishing refrigerated and frozen stock stays manageable.
Avoid building a winding route simply to make customers pass more merchandise. Prioritize access to products, checkout, and the shelves you need to refill.
Official page: Supermarket Simulator (supermarketsimulator.com)
Align Furniture With the Snap / Grid System
Patch 1.5.0 introduced the Snap / Grid System, including adjustable grid sizing and furniture snapping during placement mode. Use it to establish consistent shelf rows before filling the remaining floor space.
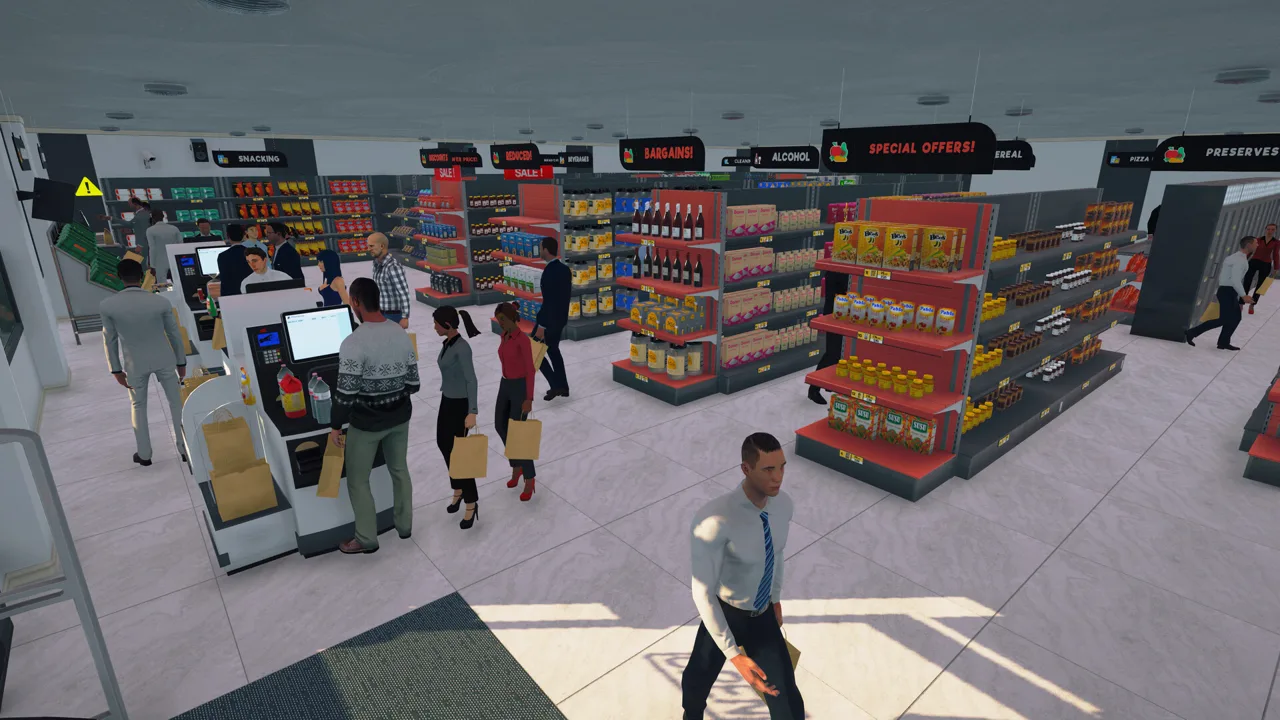 Image: Steam / Nokta Games
| Placement feature | What it does |
|---|---|
| Grid System | Helps precisely align shelves, racks, and other furniture |
| Customizable grid size | Lets you adjust placement spacing |
| Furniture snapping | Lets furniture pieces snap together during placement |
Enable the grid while positioning furniture, choose spacing that suits your fixtures, and align a shelf row before repeating that arrangement elsewhere. Keep aisle ends open rather than snapping another display into every available gap.
Use snapping for alignment, then check clearance separately. A neatly aligned fixture still needs enough surrounding room for shopping and restocking.
Some furniture dimensions changed with Patch 1.5.0 to fit the grid. If an older store has overlapping or clipped fixtures after that update, reposition the affected pieces. Inspect adjoining shelves and racks before rebuilding an entire department.
When copying an older layout, use its category arrangement and overall shape as inspiration. Place the furniture to fit your current floor rather than assuming every older arrangement will align exactly.
Allocate Shelf Space by Product Capacity
Count how many units a display holds before deciding how much space each product deserves. Equal shelf allocations can produce very different stock levels when products have different capacities.
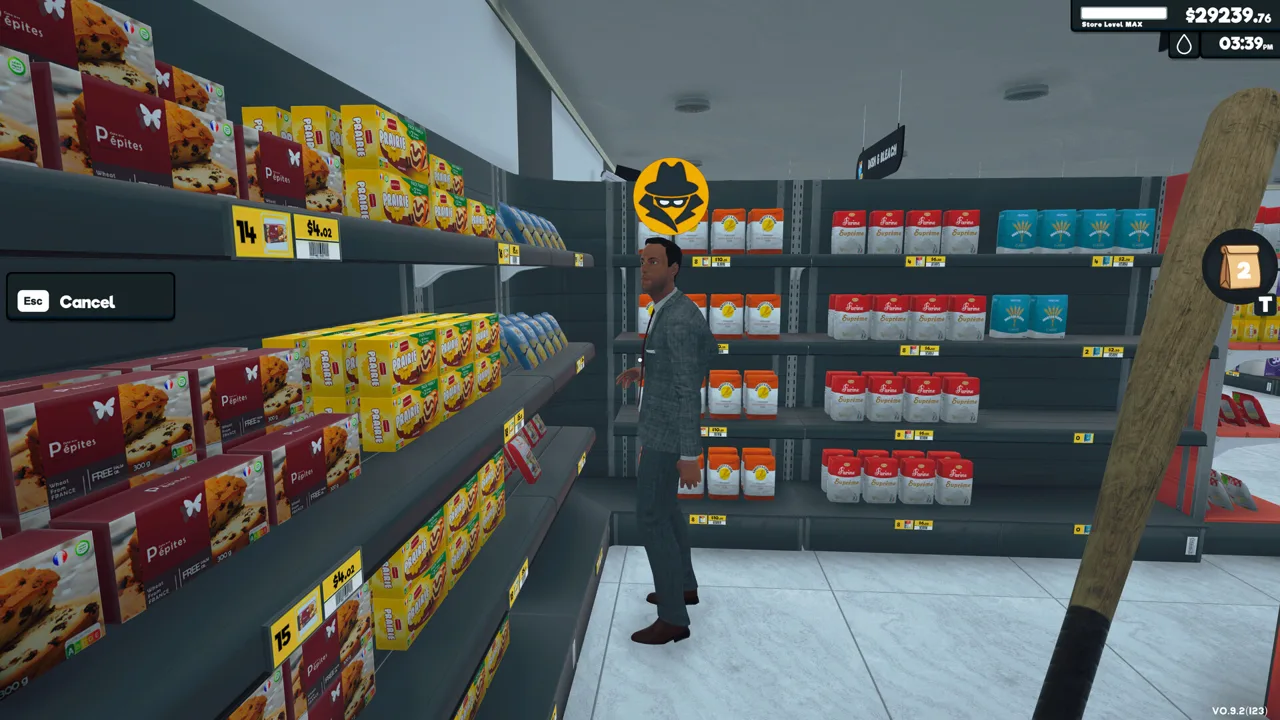 Image: Steam / Nokta Games
For an endgame layout, try 16 or 18 units of display capacity per product, plus another box’s worth of capacity, as a starting target. Adjust the allocation around the products you repeatedly need to replenish.
For example, a product that fits eight units in each display section holds 16 across two sections and 24 across three. Those arrangements look similar, but the larger allocation gives you more room for stock between replenishment trips.
Keep these distinctions clear:
- Display capacity determines how much merchandise fits on the sales floor.
- Storage capacity determines how much reserve stock you can hold.
- Product variety determines how many different items need a place in the layout.
Give products that repeatedly sell out more display space before adding duplicate shelves everywhere. Keep smaller allocations for products whose existing space stays adequately stocked.
Avoid committing a large area to one item while leaving other products without a usable display. Build out your selection in manageable amounts, then enlarge individual allocations as demand becomes clearer.
Organize Storage Around Restocking Trips
Arrange storage so you can locate reserve stock and carry it to the sales floor with minimal backtracking. Keep products that need frequent replenishment close to the shop floor, and group boxes in a consistent order.
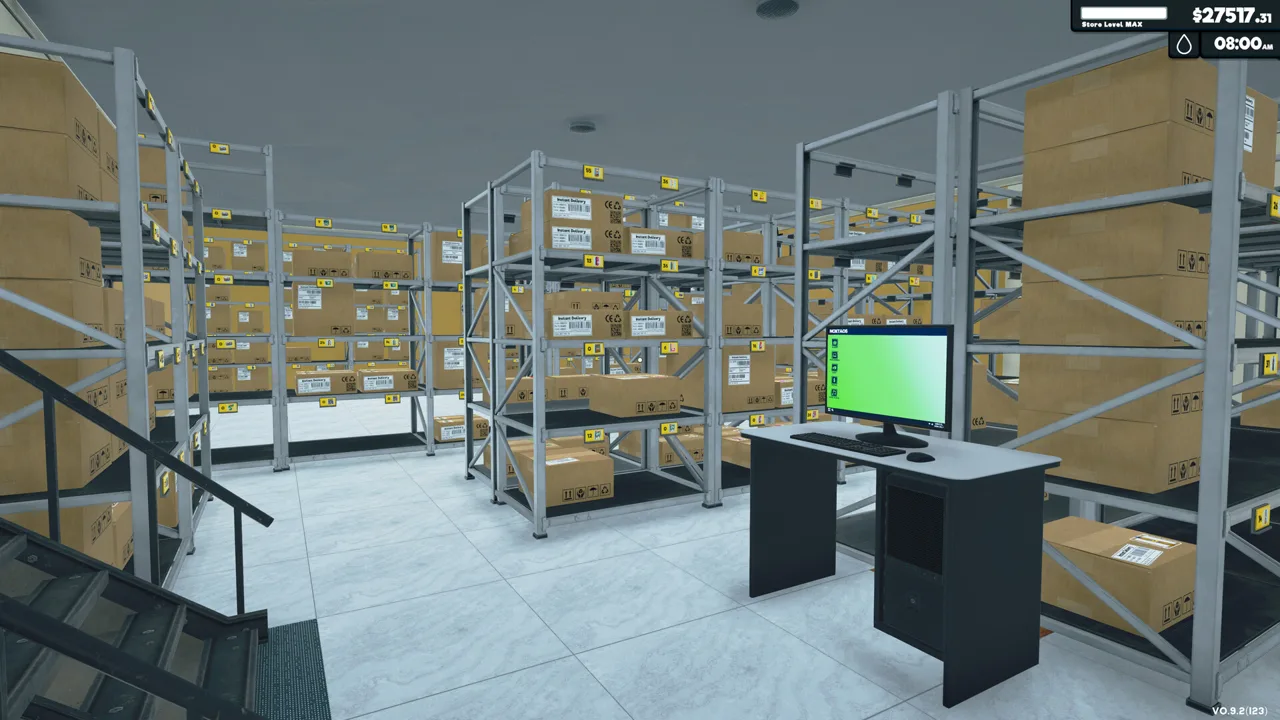 Image: Steam / Nokta Games
Mirror your sales-floor categories where practical. Keeping drinks together in both areas makes finding their reserves simpler than searching scattered racks.
Move the ordering computer into storage if you want to free sales-floor space and check reserves while ordering. Leave its approach clear so accessing it does not require moving boxes.
For a large store, consider reserving rack capacity for 10 boxes per product, adjusting quantities to your budget and turnover. Rack requirements depend on box size: five positions holding two boxes each provide space for 10, while two positions holding six each provide 12.
Leave some storage capacity available for excess purchases and empty boxes instead of assigning every position permanently.
Keep a handful of empty boxes accessible for reorganizing merchandise. Use them to transfer products when changing shelf assignments, then return them to storage rather than leaving them in shopping aisles.
If you fulfill online orders, preserve a clear route for carrying prepared packages out of the store. Keep those packages separate from the walkways used for ordinary restocking.
Expand to Fix the Actual Space Problem
Before buying more furniture or floor space, identify what is slowing the store down. An empty display, a crowded checkout area, and overflowing storage call for different changes.
If shelves keep running empty: check reserve stock first. Add storage or replenish supplies when the problem is a lack of inventory; add display capacity when you already have reserves but need more merchandise on the floor.
If checkout lines crowd the entrance: rearrange the register area and nearby displays. Preserve room for the line before extending another shelf row toward the door.
If a new product category needs different equipment: plan space for its shelves, fridges, or freezers before purchasing fixtures. Leave access around the new department and keep its restocking route usable.
If furniture no longer fits without narrowing your routes: expand the floor instead of squeezing another unit into a passageway. Use the additional room to extend existing departments while retaining consistent aisle spacing.
Alternate investments in storage and sales-floor capacity as those needs develop. Keep enough money available to stock the displays you install, and put decorative upgrades behind the equipment and space needed to run the store.
After an expansion, furnish the new area around a specific need—a larger refrigerated section, additional product variety, or more checkout room. Leave unused space open until you have a reason to fill it.
Continue with
 Supermarket Simulator Store Layout: Shelves and FlowBuild a better Supermarket Simulator store layout with aligned shelves, clear checkout space, organized storage, and room for products as your shop grows.
More in Layout
Supermarket Simulator Can't Place Vending Machine: Fix
Supermarket Simulator can't place vending machine? Learn where machines can go, why indoor placement fails, and how to separate placement from co-op bugs.
Supermarket Simulator Vending Machine Items List: All 27
Supermarket Simulator vending machine items list with all 27 compatible products, license levels, box sizes, and city placement tips for easier restocking.
Continue exploring
Join the community
Official channels for news, updates and player help: